Android Environment Set-up
To get started with the Android development basically we need two things:
- If we are using Java for developing the android application then we need to install the latest version of JDK(Java Development Kit) in the system.
- The second and the most important thing is the toolchain or the Android SDK(Software Development Kit) which provides us all the supported libraries
needed for the Android application development. Also, we require an editor to write our code. There is a tool that integrates the Android SDK library
support and the code editor feature into a single one and such tool is known as IDEs (Integrated Development Environment). And nowadays most popular
and widely used IDE is Android Studio which is also an official IDE for Android app development.
Android Studio:
Android is the IDE that takes care of all the background tasks of compiling the code, linking with JDK and Android libraries. Using this
we can write our code,
debug the code and work on application GUI styling.Android studio can be downloaded from its official website
which link is:
https://developer.android.com/studio .
It is available for different platforms like Windows, Mac OS, and Linux.
Also for a successful installation of Android Studio in a system it should fulfill its system requirements as mentioned in its official website.
It can be summarized as below:
| Platform | System Requirements |
|---|---|
| Windows |
|
| Mac OS |
|
| Linux |
|
*Data source: https://developer.android.com/studio
Android Studio Installation:
Once the Android Studio installer file is downloaded, we will proceed it with the installation. Below are steps that describe the installation
process in a Windows system.
-
Double click and open the installer (".exe") file named "android-studio-2020.3.1.25-windows"(latest version in our case). this will open the below window.
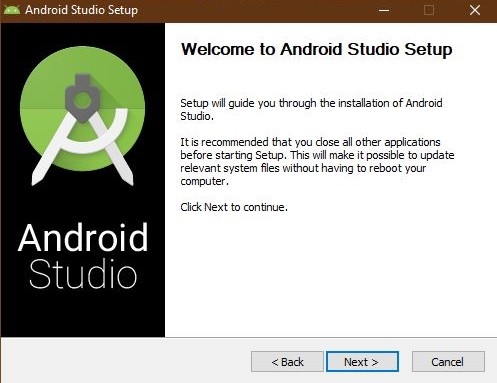
Click on the next button and proceed to next window. -
This window shows what components we are going to install. Make sure the right components are checked. We are going to install here Android Studio
along with AVD(Android Virtual Device). AVD is an important plugin of Andriod Studio that creates a virtual target mobile device where we can deploy
and test our apps.
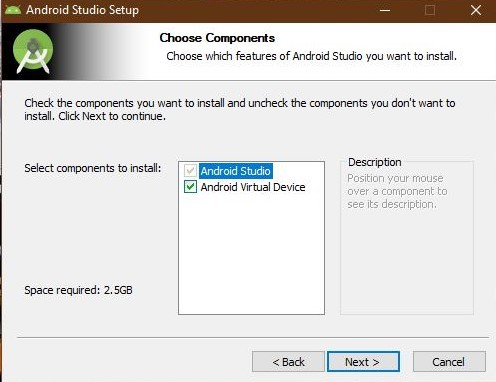
Click on the next button. -
In this window, we need to select the path in our machine where we are going to install the Studio.
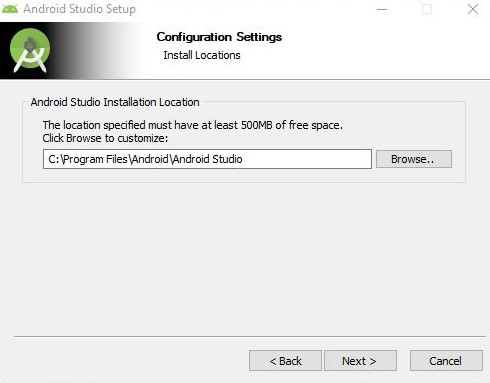
-
This window will allow the installer to create the application shortcut in the Start menu option. If we don't need the Start menu shortcut then tick the
checkbox of that. Currently I'm leaving it with the default option.
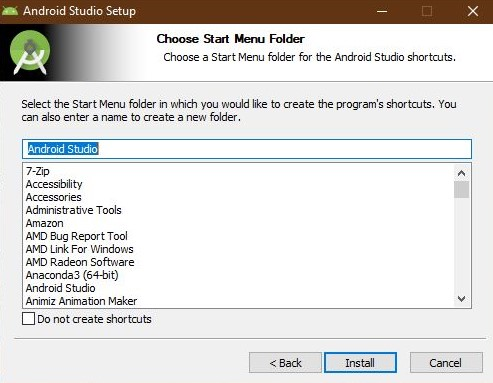
Click on the Install button and it will start the installation process. Please wait and relax until it completes. -
Once the installation is completed successfully without any error it will give the below message.
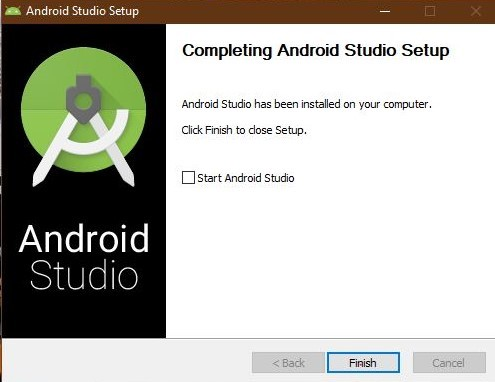
And with this now we are ready with our Android development.